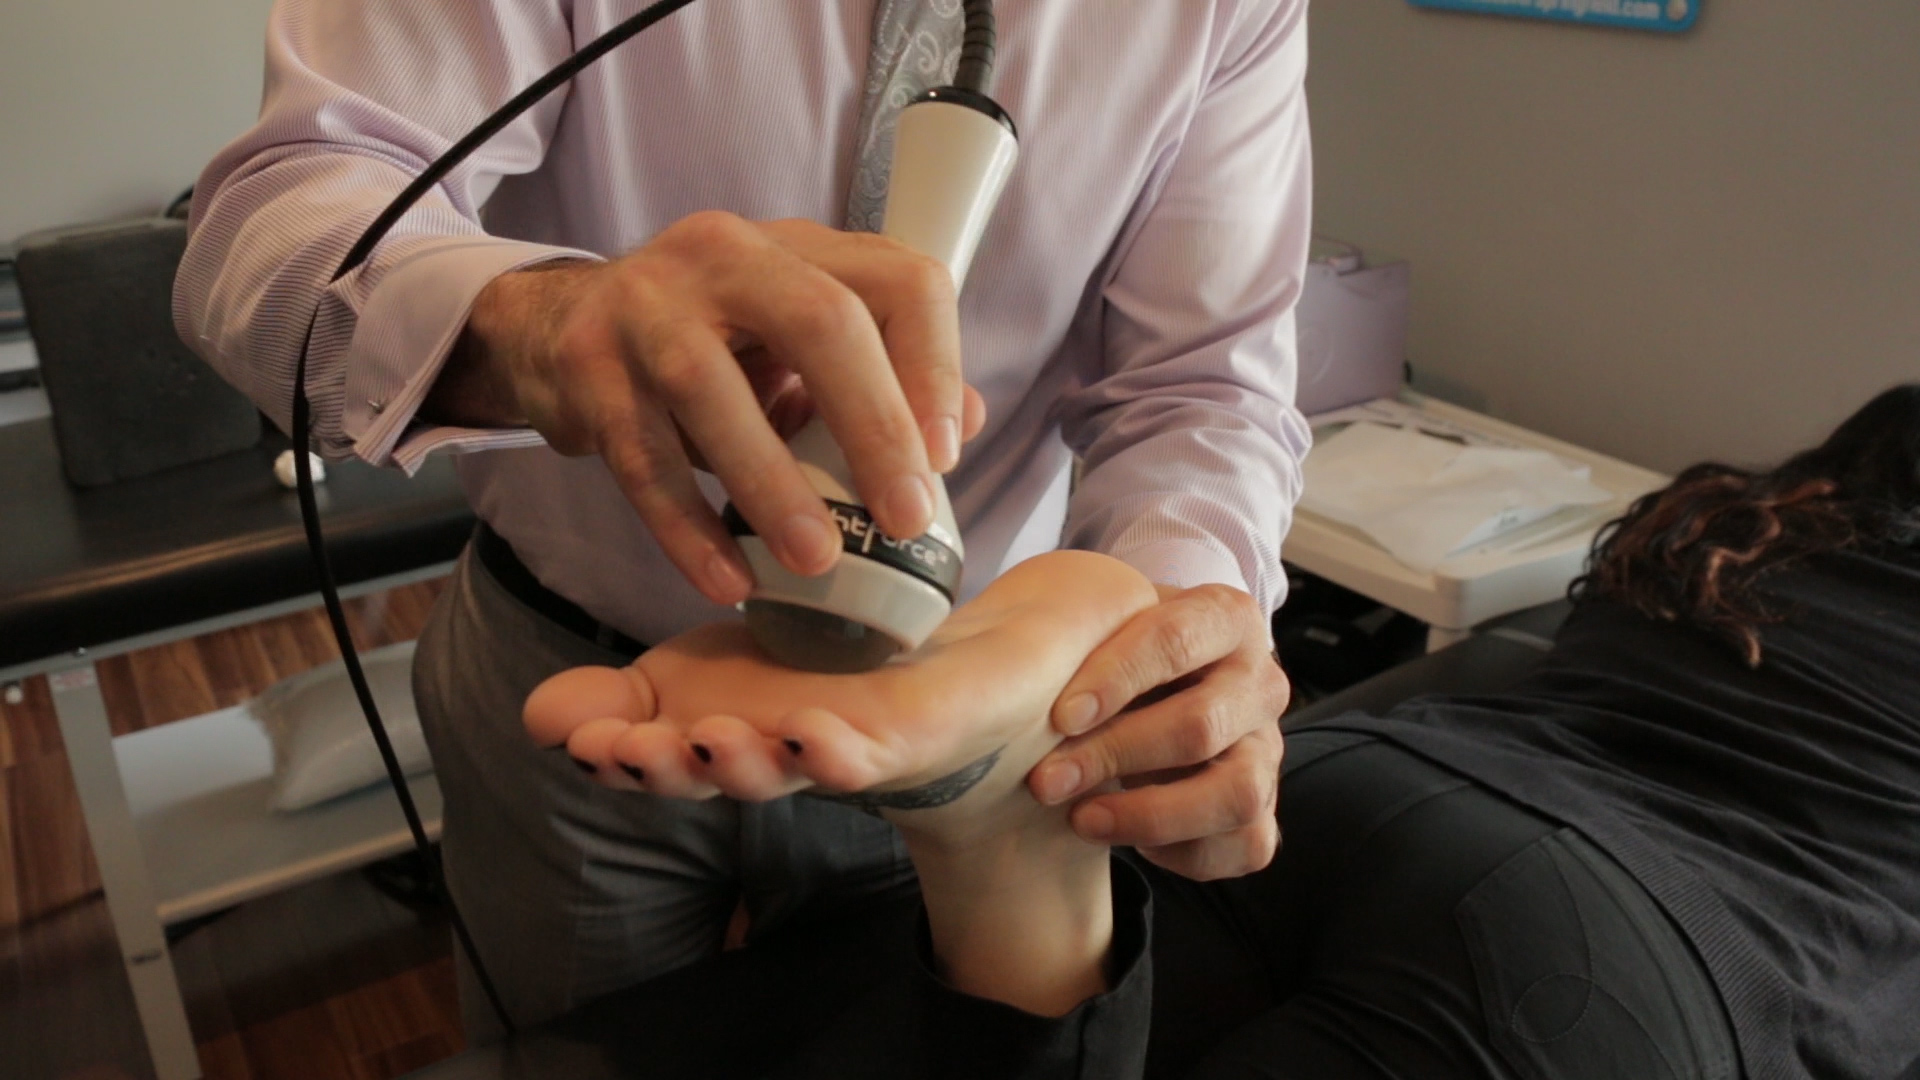
 When many people are first introduced to the laser they are not sure what it does or how it can help their plantar fasciitis. The laser has several different mechanisms by which it works to facilitate healing.
It Creates More Energy Within The Cell
The first thing it works on is the powerhouse of the cell. When it is stimulated it tells the cell to begin to make more energy which will allow for healing to take place. All of our cells are surrounded by a cell wall. The laser makes this wall more permeable. This allows nutrients to get in and waste to get out quicker. When this occurs you can have a powerful anti-inflammatory effect.
It Gets Inflammation Under Control
The anti-inflammatory effect is the big thing we are hoping to accomplish with the laser. With uncontrolled inflammation we can be susceptible to excessive scar tissue. Scar tissue itself can be a pain generator but it also inhibits normal function of the muscles. It is not as flexible as normal muscle fibers so the muscle cannot lengthen and shorten correctly. When this occurs you will get excessive pull on joints which will lead to joint dysfunction and pain. If this occurs long enough we get wear and tear damage on the joints leading to degeneration and arthritis.
CLICK HERE FOR OUR NEW PATIENT OFFER: $49 CHIROPRACTIC EXAM & ADJUSTMENT
Treatment Time Is Considerably Less Than Alternatives
With acute injuries such as tight tendons we like to work on them as soon as they happen. As you read above the longer the inflammation stays in the system, there will be an increase in symptoms and the possibility of long term damage. The most successful treatments we have with the laser are when patients come in as soon as it happens. They also require the least amount of treatment to restore normal function.
In addition to deep tissue laser therapy, we have offer several treatment options for plantar fasciitis, including graston technique and massage therapy. We also cannot stress enough the importance of at-home exercises for prevention.
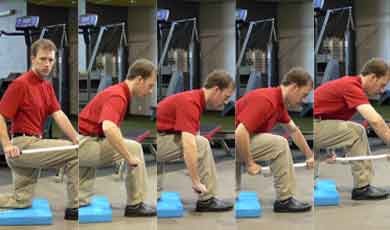
 1 – Search and Destroy for Calf
Description
This is a great drill to prepare the ankle and calf region to be dorsiflexed. It is best performed prior to Half Kneeling Calf Stretch.
Step-by-step instructions
Begin by getting into the Half Kneeling position and with a massage stick, a golf shaft, or any broom handle like object you can begin massaging the backs of the calf muscle. Work toward the inside and the outside of the calf, as well as both high and low on the calf. Make sure to get down and be firm with your massage strokes as if you were getting a deep tissue massage in the calf region. Make nice long and smooth strokes focusing on trigger points or areas that elicit a bit of tightness or apprehension. These areas are most likely the muscle adhesions that we are trying to break up with the activity. Massage for about 30-seconds to a minute and then switch legs.
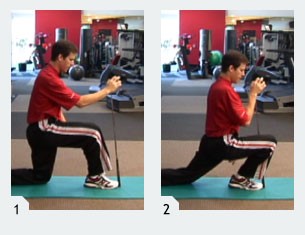
 2 – Half Kneeling Calf Stretch
Description
This exercise helps develop better flexibility (dorsiflexion) in the ankle and calf.
Step-by-step instructions
Get into a half-kneeling position with your left knee down and your right foot forward. Holding onto the head of a golf club, place the handle just inside your right big toe and hold the club vertical. Keeping your spine stable and your heel on the ground, lunge forward trying to get your knee out as far as possible past your toe and outside the club. Hold for 2 breathes and return.
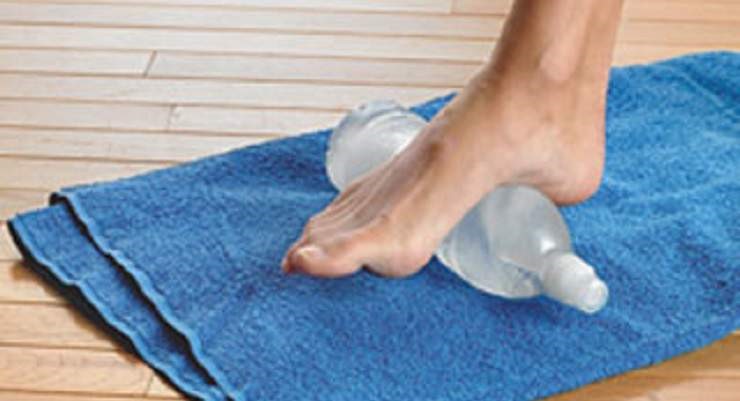
 3 -Foot Mobility
Description
This is a mobilization drill to loosen the tissues on the bottom of the foot
Step-by-step instructions
You can perform this in a seated or standing position. When first starting it will likely be easier to begin sitting but as you progress you will likely be able to put more pressure on the foot with standing. You can either use a golf ball or a frozen water bottle. The bottle may be easier in the beginning. Simply move the bottle or ball all around the bottom of the foot making sure to focus on the sore spots but do the entire foot.
– Dr. Rob
